Hi Sweets,
Today i got you guys new manicure tips, i know many of you might have seen dis.......
would like you all (nails fans) to try them, they are pretty kool, unique and good for every occasion......
I HAVE MY BEST THOU........
See pictures below....
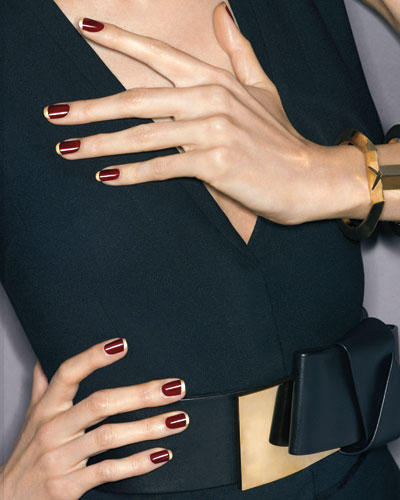
French Twist
STEP 1 Apply three coats of burgundy polish on the entire nails, and let them dry for 30 minutes.
STEP 2 fix the stickers to create a crescent-shaped sliver at the tip, and apply two coats of gold polish. Wait for it to dry before slowly peeling up the sticker (you don’t want the paint to lift).
STEP 3 Use two layers of topcoat to smooth the ridge where the two colors meet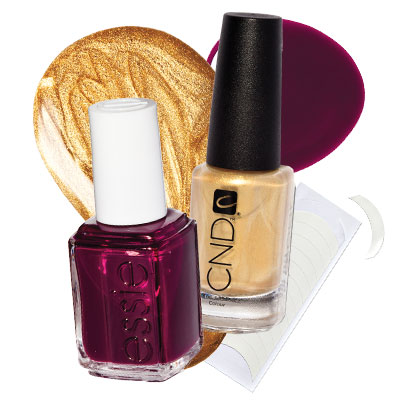
STEP 2 fix the stickers to create a crescent-shaped sliver at the tip, and apply two coats of gold polish. Wait for it to dry before slowly peeling up the sticker (you don’t want the paint to lift).
STEP 3 Use two layers of topcoat to smooth the ridge where the two colors meet

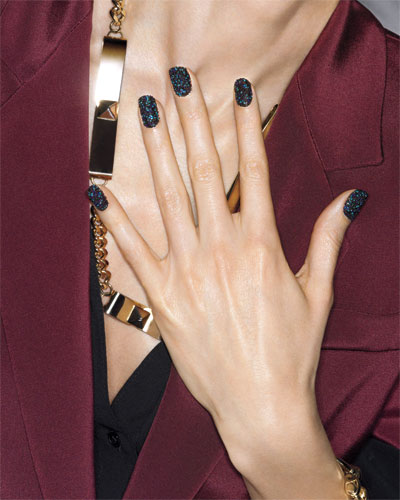
Caviar Dreams
Black and iridescent, they channel beluga and glam rock. Katy Perry is such a fan of textured nails that she made her own design from actual rainbow sprinkles.
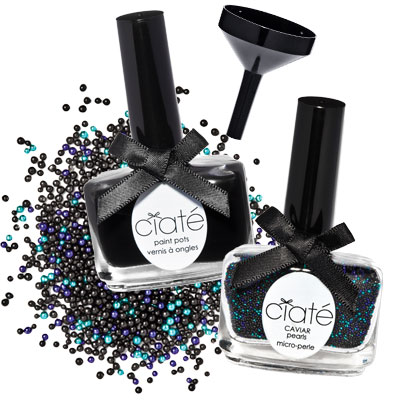
STEP 1 Pour the caviar beads onto a paper plate. Paint one nail (i.e., don’t do them all at once) with black polish, and let it dry for 20 seconds.
STEP 2 While the polish is still tacky, gently roll your nail in the beads, then press them flat with your fingertip. Finish both hands.
STEP 3 Brush on a very thin layer of topcoat—any more can make the beads and underlying polish gummy
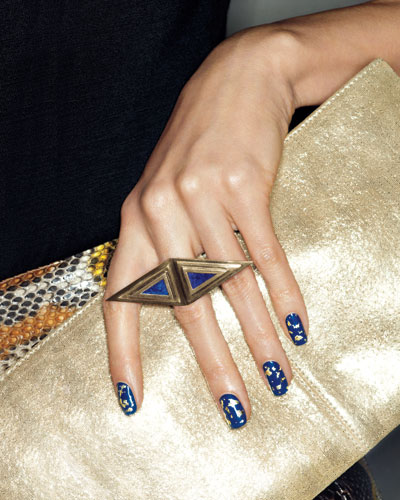
Lapis of Luxury
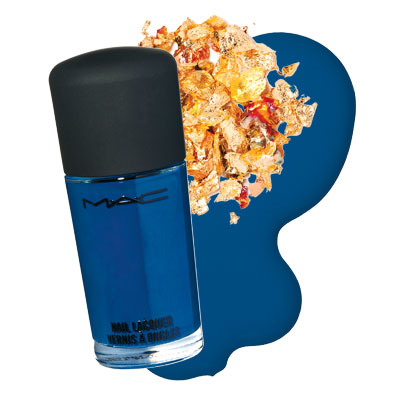
STEP 1 Apply two coats of a deep navy blue. Allow to dry for 10 minutes so you won’t leave any imprints when working with the foils.
STEP 2 Dip a toothpick into a topcoat, then use the end to attach a gold flake. Place it down, and carefully flatten the edges with your fingertip. Repeat using smaller and larger pieces to create a varied design.
STEP 2 Dip a toothpick into a topcoat, then use the end to attach a gold flake. Place it down, and carefully flatten the edges with your fingertip. Repeat using smaller and larger pieces to create a varied design.
STEP 3 Add topcoat to seal.
Always leave ur questions/comments!!
........Thank 'U' for viewing FiFi'ṣ Blog......XOX......

No comments:
Post a Comment